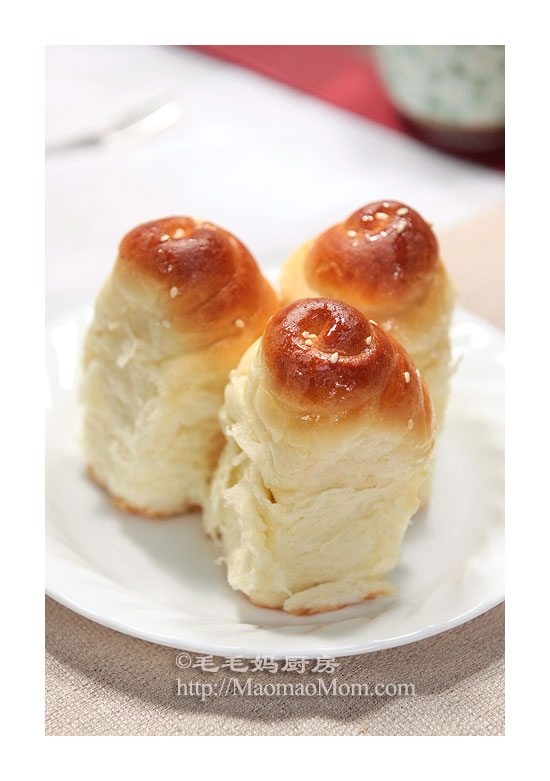
【AirGo-芦笋蛋挞】
MaomaoMom/毛毛妈
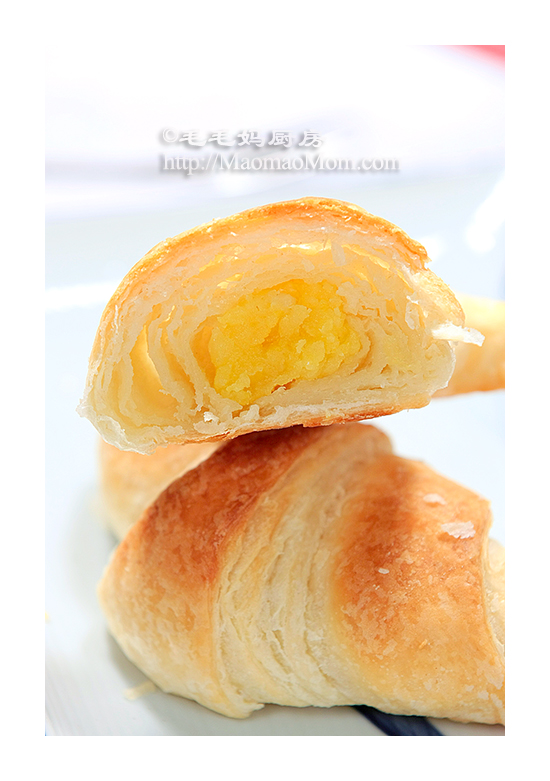
我用买来的千层蛋挞皮,非常不错. 非常喜欢爱锅AirGo的烤箱功能, 用它烤不仅时间比大烤箱少, 酥皮真是更酥, 一口咬下蛋液嫩滑芦笋片脆嫩, 好滋味. 用爱锅轻松便捷无油烟, 夏天也不会厨房弄的热。想购买点AirGo爱锅,用 maomao25 优惠券有for $25 折扣。

用料:
1: 9个中号蛋挞皮,如果买不到千层酥皮蛋挞皮,可以参考 紫薯蛋挞里的方子自己做;
2: 粗芦笋2根(35克);
3: 鸡蛋1个;
4: 开水1/2杯(120克);
5: 鸡粉1/4茶匙, 盐1/3茶匙.
注:1大匙Tablespoon =15毫升,1茶匙Teaspoon =5毫升,1杯Cup=240毫升。以上的材料可以做9个中号蛋挞。
做法:
1、芦笋用刨刀削去外皮 (图1), 水冲洗后切1.5毫米片备用 (图2). 将4-5料放入一杯中, 搅拌均匀(图3). 鸡蛋一个(图4)打散, 边搅拌边把蛋液倒入水中(图5)搅拌均匀(图6).

2、将6-7片芦笋片放入蛋挞里 (图7), 然后将奶液通过细筛(图8) 均匀注入9个蛋挞皮中(图9), 只要8分满的样子, 多余的蛋液不要.
3、【AirGo】插上电源,用“Function”选“Oven”然后选择420F及15分钟,点“Start”预热。预热后放入, 打开盖子, 快速将蛋挞放入锅里, 注意不要烫到自己, 盖上盖子让程序继续(图10).

4、程序结束, 打开盖子, 用铲子把蛋挞铲出来, 稍冷即可食用, 太好吃了.


It¦s actually a nice and useful piece of info. I¦m glad that you shared this useful information with us. Please stay us up to date like this. Thank you for sharing.
Good post. I learn something tougher on different blogs everyday. It will all the time be stimulating to read content from different writers and apply a bit of one thing from their store. I’d prefer to use some with the content material on my blog whether or not you don’t mind. Natually I’ll offer you a link on your net blog. Thanks for sharing.
This web site is really a walk-through for all of the info you wanted about this and didn’t know who to ask. Glimpse here, and you’ll definitely discover it.
Excellent post however , I was wanting to know if you could write a litte more on this subject? I’d be very grateful if you could elaborate a little bit more. Many thanks!